
|
The world of non-commercial film and A-V |
Events Diary | Search | ||
| The Film and Video Institute | | ||||
Slides & Galleries in WeeblyIn the article about Pictures we mention the use of Photo Gallery and Slide Show tools. In the article Pictures>Video we mention using a Photo Gallery when building a Cinema Page showing stills from films which can be linked to separate Film Pages where those movies are shown. Here's how Weebly's Photo Gallery and Slide Show tools work.
|
|||||
Photo Gallery |
|
||||
| Normally this is used to present a collection
of small photographs. When a visitor clicks on any picture, a
large version of that photo is shown.
Drag the Photo Gallery element onto the page. It starts like any image element: When you click on it you can drag pictures onto the page or use conventional navigation tools to find pictures on your own computer. We suggest you select several pictures at once. Hold down the Ctrl key on a PC or the Mac key on an Apple and then click on each picture you want to use. You can choose any size or shape of picture but we suggest you keep them to a maximum of 800 pixels wide and 600 pixels high. You need to use a separate image editing program to prepare the pictures this way - see suggestions here. |
|||||
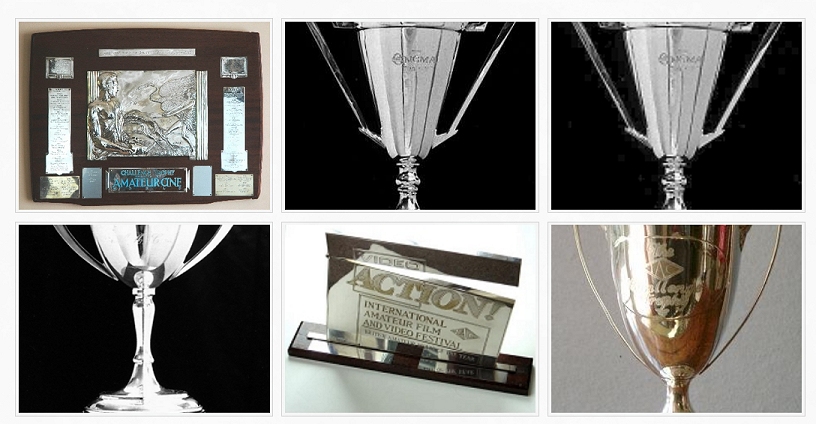
| When the pictures have uploaded from your
computer, postage-stamp sized "thumbnail" images of them appear
in the Photo Gallery default format. These are some
of the old IAC trophies.:
Click on them to get options very similar to the ones for individual images ... |
|||||
| Upload new Images - lets you add to the collection by
choosing more pictures to upload.
Columns - lets you select the number of pictures to display in each row. The more in a row, the smaller they will appear. Spacing - offers a selection of spaces you can leave around each picture. |
Border - offers a choice of border sizes.
Cropping - offers the chance to make them all the same shape - square, rectangle or none . Advanced - lets you select how much space to have above and below each row of pictures. |
||||
Mini-ToolbarAt the top of each picture there us a "mini-toolbar". |
|||||
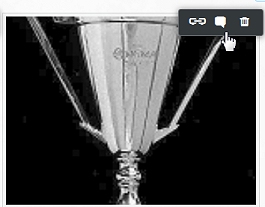 |
Chain - opens the usual link options. Not used
when the gallery is used as intended: to display larger
versions of the pictures.
Talk balloon symbol - lets you type in a caption which will appear under the larger version of the picture . You cannot see this in action until the page is published. Dustbin - deletes the image from the gallery. Note: If the link option is used, when a
visitor clicks on the "thumbnail" they will be taken to the
link's destination. They will not see the larger version of
the picture. |
||||
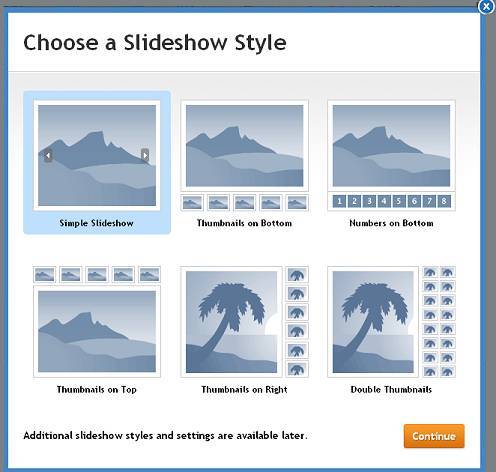
Slide ShowThis is designed to present a series of photos, one after the other. After the last slide the show starts again. They can be changed by the visitor clicking an arrow or can be set to change after a certain time. There are options to present small versions of each picture so that a visitor can choose to display that photo and can then start the slide show from that photo. Drag the Slide Show element onto a page.
Click on the display type you want visitors to see when they visit the slide show. Then click the Continue button. Most of these options can be amended at a later stage. The styles at bottom right might be be appropriate for photos of members since it suits portrait format images. Simple Slideshow changes the pictures when the visitor clicks on one of the arrows. Thumbnail ... the various options show where small images of all the slides will appear so that visitors can click on the particular one they wish to see or from which they wish to begin the show. |
|||||
| Then the Upload Photos box
appears. Click the arrow and select from pictures on your
computer. You can choose several at a time by holding Ctrl (on
Macs the Mac key) while clicking on each picture you want.
Given the page space available for slides, we recommend editing your pictures to no larger than 600 pixels wide and 400 pixels high. This must be done in a separate image editing program - see our suggestions here. |
|||||
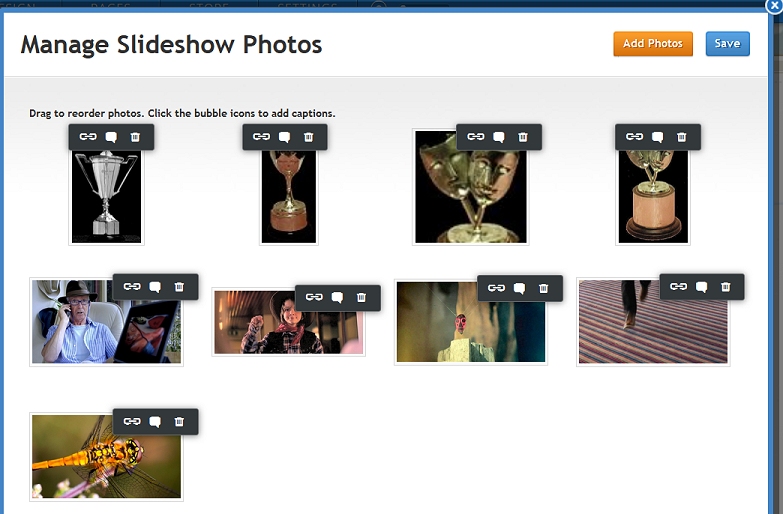
| When the images are uploaded the main Manage
Slideshow Photos tool appears.
Add Photos lets you choose more images. Save tells Weebly to save the slide show. |
|||||
|
Mini Toolbars on the top of each photo let you add a link or a caption by clicking the chain or "speech bubble" symbol . The caption is only visible on the slide after the site has been published. You can delete the image from the slideshow by clicking the "dustbin". When you have saved it the first slide appears. Click on it and a set of general options appears: |
|||||
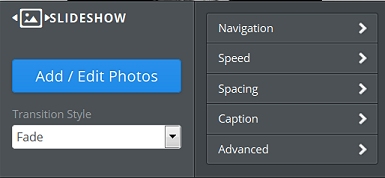 These tools allow you to specify how users will display the slides, whether they will play automatically and so on. The most interesting option is Transition Style. Click this to choose: 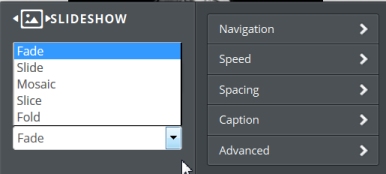 As any video editor will realise these indicate how one slide will change to the next. Experiment with all those options. |
|||||
|
There are nine pages in this series of detailed Weebly tips: They support general articles on web design for film-making and AV club websites which begin here. [Weebly frequently update and improve their system. These pages are based on tests in March 2015.] |
|||||
Share your passions.
Share your stories.