
|
The world of non-commercial film and A-V |
Events Diary | Search | ||
| The Film and Video Institute | | ||||
Build a Club Website 4: More, More, More The tabs at the top of the page let you choose what sort of work you want to do on the website. Build - lets you add elements like title, text, images and so on to a page using the tools on the left. Design - lets you change colour schemes and themes. You can have fun trying out these once we have more pages. Pages - is where you add new pages and arrange them in sequence. Store - allows you set up a page or two for selling goods, we will not look at this. Settings - offers some specialised behind-the-scenes options that we will consider later. We need a few more pagesEventually your club website can grow to hundreds of pages, but to get started let's add one more. Click the Pages tab at the top. |

That presents the "Manage Pages" tool: |
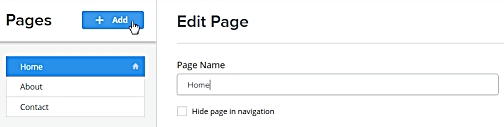
The left column headed "Pages" lists the basic pages you might expect on any website: Home, About, Contact. So far they are only empty pages. On the right under "Edit Page" is the current name of the page selected on the left. You can change the name if you wish - many people call it
"Welcome". The other options on the right may seem a little strange. We don't need to worry about them at this stage. Click the + Add button to add a new page.
|
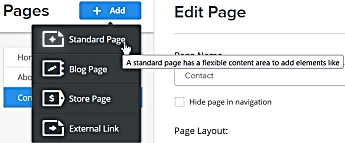
Now you are offered a choice of page types. (As you can see, when the cursor pauses over one of them you see an explanation of sorts!) For our purposes we will always use "Standard Page", so click
that. |
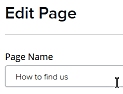
The new page has not got a proper name yet, so click in the Page Name box and change "Untitled" to "How to find us".
|
 There
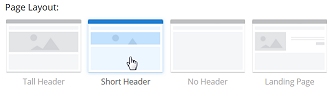
is a choice of page layouts. There
is a choice of page layouts. Tall Header - places a large picture at the top of the page. It seems a waste of space. Short Header - puts an attractive, smaller header on the page. No Header - er, does what it says and gives you a totally blank page to start from. Landing Page - is pretty much a copy of the basic Home Page. It is intended for cases when links from other places on the internet might want to get straight to part of the material on your website. (For example if your club offers to organise shows for clubs, care homes, etc. there might be lots of links from other websites for people who are not interested in joining or making movies but just in having a show. You could ask them to link to a Landing Page dedicated to your public shows.) |
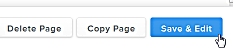 Then click the big Save & Edit
button at the bottom right of the screen. Then click the big Save & Edit
button at the bottom right of the screen.As its name suggests this not only saves the name of your new page (and if it had contents would save those too) ... but it also opens the page so that you can edit what is in there ... |
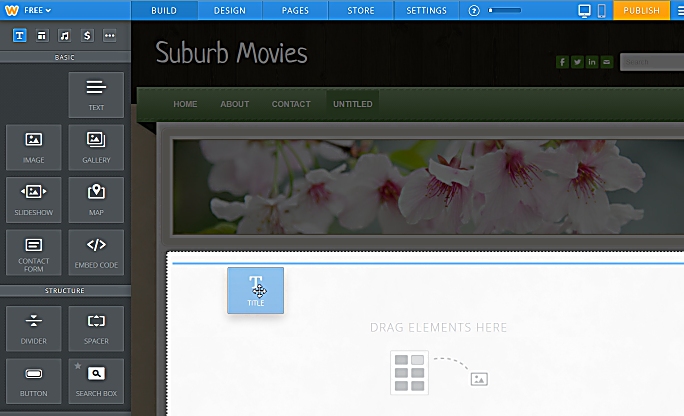 Here we have started to add a Title element to
the page by dragging it from the tool box on the left and
dropping it onto an empty are of the page. Here we have started to add a Title element to
the page by dragging it from the tool box on the left and
dropping it onto an empty are of the page.The blue line indicates where the new element will appear - in this case right under the header picture. (The header is shaded while you drag-and-drop to indicate that you cannot drop anything on it.) When the Title element is in place you click on it and type in the title you want. In this example I chose "How to find us." |
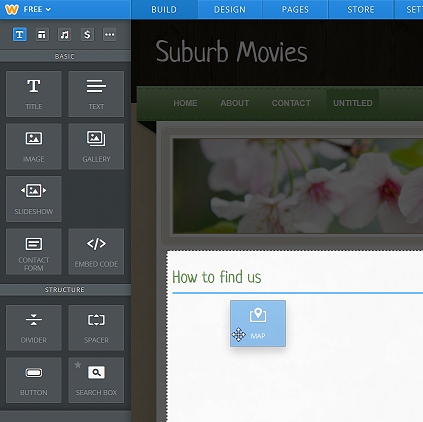 Here the Title appears and I am dropping below it a Map element. This will pop an interactive Google map on the page to show where your club meets. |
 Of course the map does not yet know where the
club meets so it shows its default view of San Francisco. Of course the map does not yet know where the
club meets so it shows its default view of San Francisco. |
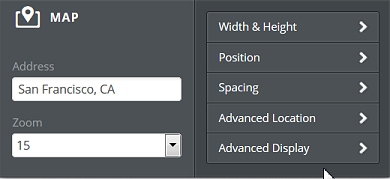 Click on the map and this properties box pops up. You can
use it to change the size and shape of the map - but the main
point is you can type in to the "Address" field the address
where the club meets.
Click on the map and this properties box pops up. You can
use it to change the size and shape of the map - but the main
point is you can type in to the "Address" field the address
where the club meets.You can type in a British postcode or a full street address like "65 Church Lane, Ourtown, Lancs." The "Zoom" lets you choose how close the map should be. 1 shows the whole world (!), while 17 is close enough to show individual buildings. Click back on the map itself to see the changes. When your website is live, visitors will be able to drag the map around and zoom in and out as they wish to find their best route to your venue. You might then add some "Text" with the name and address of the venue, details of local parking and public transport. |
 For now click on the Pages tab at the top and look at the list on the left: Your new page has been added to the list. |
Now we have to publish the pages Even though there is almost no content on our pages yet,
let's get these pages up on the web ...
Near the top right of the Weebly screen is a friendly orange button marked "Publish". Click on it.
|
|
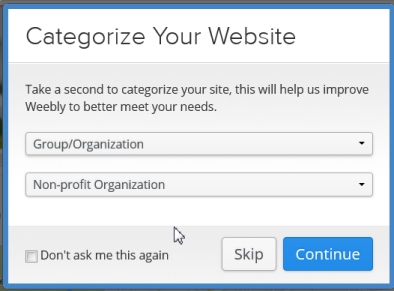
| You may see a pop-up message asking you to categorize your
website. Click the arrows on the boxes and lists of types appear. I suggest you choose these: |
 |
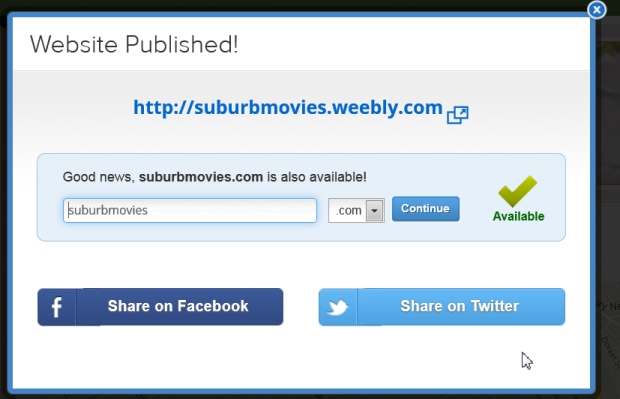
| After a moment you see a new message:
Your web address will show the domain name you chose. Yes, you have done it! Click on the bold link. ( In the illustration it is: http://suburbmovies.weebly.com) and your web browser will open a new window showing you your website! At this stage I suggest you ignore the options to tell your friends about it through Facebook, Twitter or Email. |
 |
| So far you have put up on the internet a website with almost
empty pages. In the next step, we will change that by adding
text and pictures. Exciting? Perhaps. Straightforward? Absolutely. |
|

| Click here to move on to part 5 ... Pictures & Words |
| Jump to: Getting
started | Weebly
sign up | your first
page | additional
pages pictures & words | Coming Soon | forms, emails, maps & videos
|
Share your passions.
Share your stories.